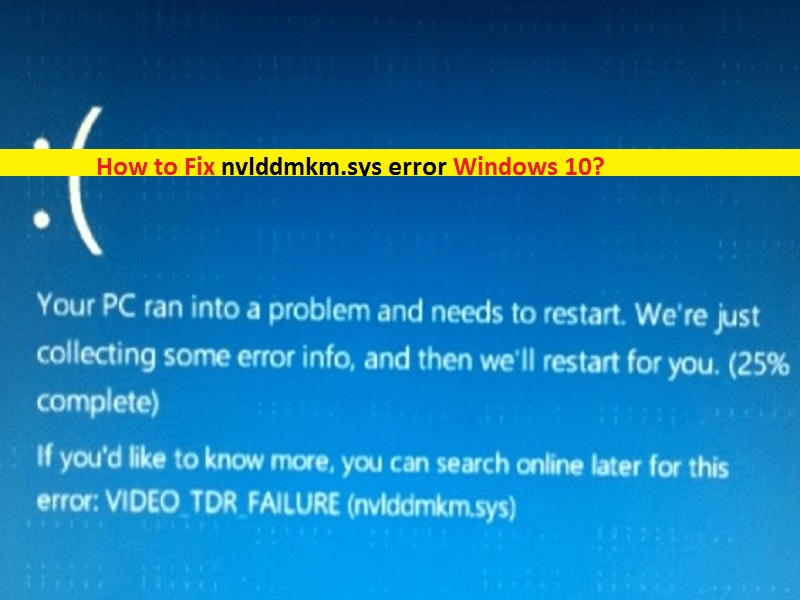
What is Nvlddmkm.sys error Windows 10?
It is also known as VIDEO_TDR_FAILURE (Nvlddmkm.sys) categorized as Blue Screen of Death (BSOD) Error occurs in Windows 10 similar to CLOCK_WATCHDOG_TIMEOUT error, BAD_OBJECT_HEADER error and driver_corrupted_expool Error due to several reasons. This error is related to this Operating System and NVIDIA graphics card means if you have NVIDIA graphics card integrated/connected into your computer, then it might possible to get this error in some cases.
TDR in Windows 10: TDR stands for ‘Time Detection and Recovery’. It is part of Microsoft Windows Operating System designed to detect if your Windows PC has frozen and also attempts to recover by reinitializing the driver and reset the GPU. This feature in Windows 10 attempts to prevent System from Blue Screen of Death (BSOD) error. It does this by reinitializing the drivers and resetting the GPU. But in case this ‘TDR’ or ‘Video_TDR_Failure’, then this type of BSOD error can appear.
In some cases, this BSOD error occurs possibly after Windows 10 upgrade. Usually, Windows update also installs all the available updates for the System’s drivers. But it is also possible that some device driver may not get update for some reasons. In such case, you need to separately update such drivers.
Missing, corrupted, outdated, or incompatible graphics card drivers can cause Nvlddmkm.sys error Windows 10. So, you should at first check the status of your NVIDIA graphics card driver. To do so, you need to open ‘Device Manager’, expand ‘Display Adapters’ category and click on your NVIDIA Graphics card. Check if it shows ‘Yellow Exclamation mark’ on your graphics card. If yes, then NVIDIA display driver update is necessary.
However, VIDEO_TDR_FAILURE (Nvlddmkm.sys) – Blue Screen of Death (BSOD) error can also be occurred due to incorrect memory timings or voltages, overheating, malware or viruses attack, corruption in System files or registry and others. If you are facing the same issue, then you can follow our instructions to resolve. Let’s go for the solution.
How to Fix VIDEO_TDR_FAILURE (Nvlddmkm.sys) in Windows 10?
Method 1: Fix Nvlddmkm.sys error Windows 10 with ‘PC Repair Tool’
‘PC Repair Tool’ is quick & easy way to find and fix BSOD errors, DLL errors, EXE errors, System registry errors, malware or viruses issues, and other System issues with just few clicks. This way, you can fix ‘VIDEO_TDR_FAILURE (Nvlddmkm.sys)’ – BSOD error in Windows 10. You can get this tool through link/button below.
Method 2: Update Windows 10
Updating Windows 10 OS can fix problem in computer and improve performances. Let’s try.
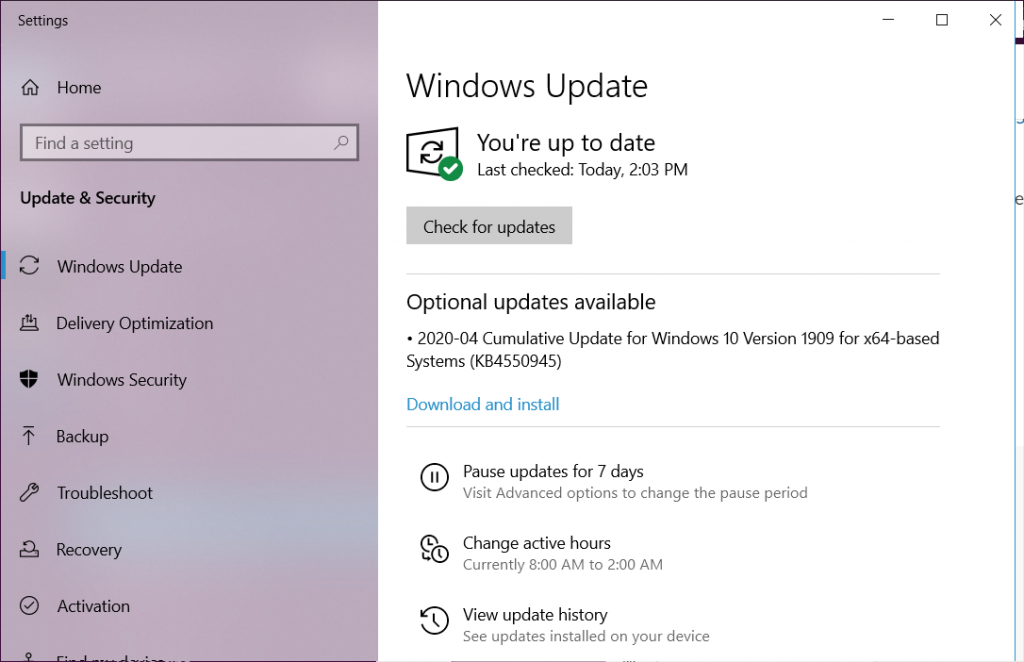
Step 1: Press ‘Windows + I’ keys together on keyboard to open ‘Settings’ App in Windows 10
Step 2: In the opened ‘Settings’ App, go to ‘Update & Security > Windows Update’
Step 3: Click on ‘Check for Updates’ under ‘Windows update’ section. This will automatically download and install the available update.
Step 4: Once done, restart your computer to see the changes and check if BSOD error is resolved.
Method 3: Check graphics card model in Windows 10 using ‘DirectX Diagnostic Tool’
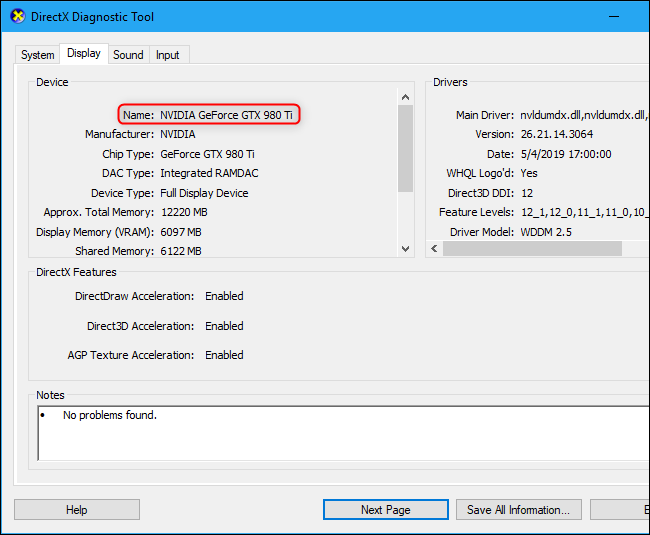
If you don’t know the name of your graphics card integrated/connected to your computer, then you can use ‘DirectX Diagnostic Tool’ for this purpose. This tool will show you the name of graphics card, manufacturer, Chip type, graphics card drivers version, and more details about graphics card. Let’s try.
Step 1: Press ‘Windows + R’ keys together on keyboard to open ‘Run’ Dialog box
Step 2: In the opened ‘Run’ dialog box, type ‘dxdiag’ and hit ‘OK’ button to open ‘DirectX Diagnostic Tool’
Step 3: In the opened window, click on ‘Display’ tab and check details about your Graphics card like NVIDIA graphics card. Navigate ‘System’ tab to check the details about your Operating System.
Step 4: Check if it shows ‘No problems found’ in ‘Notes’ section under ‘Display’ tab in this window. If it shows some problems like driver update needed, then you should try to update graphics driver.
Method 4: Update NVIDIA Graphics Card Driver in Windows 10
Outdated or corrupted graphics card driver can cause this issue. You can fix the issue by updating the driver.
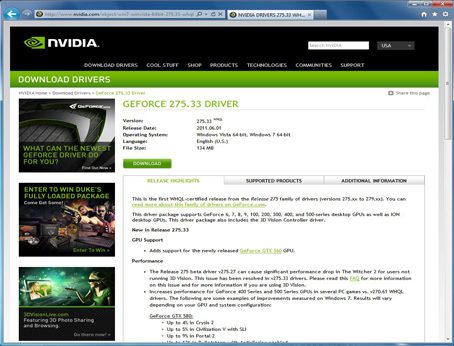
Step 1: Open your browser and visit ‘NVIDIA’ Official website and download the latest graphics card driver according to your graphics card model and operating system architecture.
Step 2: Select the latest drivers from the list of drivers on NVIDIA official site and download it.
Step 3: Now, press ‘Windows + X’ keys together on keyboard and select ‘Device Manager’
Step 4: In the opened ‘Device Manager’, expand ‘Display Adapters’ category
Step 5: Right-click your NVIDIA graphics card and select ‘Update Driver’
Step 6: Choose ‘Browse my computer for driver software’ and follow on-screen instructions to pick the latest drivers downloaded from NVIDIA official site and saved in your machine, and finish the update process.
Step 7: Once done, restart your computer to see the changes and check if the problem is resolved.
Update Graphics card driver in Windows 10 [Automatically]
You can also try to update graphics card driver or other System drivers with ‘Automatic Driver Update Tool’. This software will automatically find and install the latest update for all Windows 10 drivers if available. You can get this software through link/button below.
Method 5: Reinstall Graphics card driver
If graphics card driver is not properly installed, then you can uninstall the driver and reinstall it to fix ‘VIDEO_TDR_FAILURE (Nvlddmkm.sys)’ issue.
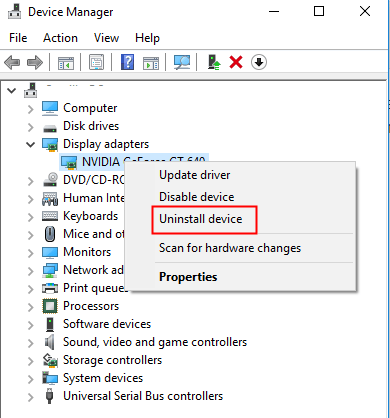
Step 1: Open ‘Device Manager’ and expand ‘Display Adapters’ category
Step 2: Right-click on your graphics card and select ‘Uninstall’ and follow on-screen instructions to finish. After that, restart your computer.
Step 3: After restart, follow ‘method 4’ to install latest graphics card driver
Step 4: Now, navigate ‘C:/Windows/System32/drivers’ and find ‘Nvlddmkm.sys’ file
Step 5: Rename this file to ‘Nvlddmkm.sys.old’
Step 6: Now, press ‘Windows + X’ keys together on keyboard and select ‘Command Prompt as Administrator’
Step 7: Type ‘exe nvlddmkm.sy_Nvlddmkm.sys’ command and hit ‘Enter’ key to execute. This command will create new ‘Nvlddmkm.sys’ file
Step 8: Now, open ‘File Explorer’ and navigate to ‘NVIDIA’ folder in ‘C:’ drive and copy the ‘Nvlddmkm.sys’ file
Step 9: Navigate to ‘C:/Windows/System32/drivers’ again, and paste the copied file here.
Step 10: Once done, restart your computer to see the changes.
Method 6: Run CHKDSK Tool
CHKDSK tool – Windows 10 built-in tool offers you to repair your hard drive. This way, you can fix faculty memory problem as well as ‘Nvlddmkm.sys error Windows 10’.
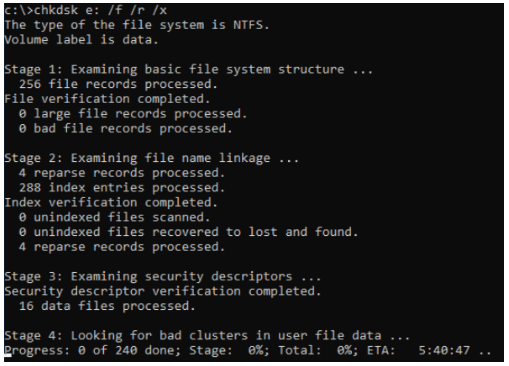
Step 1: Press ‘Windows + X’ keys together on keyboard and select ‘Command Prompt as Administrator’
Step 2: Type ‘chkdsk /f c:’ command and hit ‘Enter’ key to execute
Step 3: Wait to complete the process. Once done, restart your computer and check if the trouble is resolved.
Method 7: Run ‘Windows Memory Diagnostic’ Tool
You can also try ‘Windows Memory Diagnostic’ – Windows 10 built-in tool to fix memory related issues.
Step 1: Press ‘Windows + R’ keys together on keyboard to open ‘Run’ dialog box
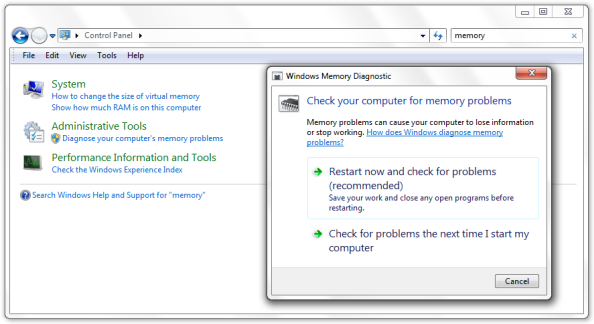
Step 2: In the opened ‘Run’ dialog box, type ‘mdsched.exe’ and hit ‘Enter’ key to open ‘Windows Memory Diagnostic’ tool
Step 3: Click on ‘Restart now and check for problems (recommended)’ to start the process.
Step 4: Wait to complete the process. Once done, please check if problem is resolved.
Conclusion
I am sure this post helped you on How to fix VIDEO_TDR_FAILURE (Nvlddmkm.sys) in Windows 10 with several easy steps. You can read & follow our instructions to do so. If this post really helped you, then you can share the post with others to help them. That’s all. For any suggestions or queries, please write on comment box below.


