
What is ‘BAD_OBJECT_HEADER error’ in Windows 10?
‘BAD_OBJECT_HEADER’ is common Windows 10 problem considered as Blue Screen of Death (BSoD) error. This BSoD error appeared with Blue Screen with some Windows Stop Code error on your computer in the middle of your computer, or after System boot/reboot. It doesn’t matter how much important your task that you were doing before this error appear.
This error interrupt your all computer tasks on Windows and reboots immediately. The text presented in this BSoD error states that something went wrong with your computer and needs to restart. Also, the error message states that they are collecting some more info, and then your computer will restarted. BSoD error usually shows a ‘Windows Stop Code Error’ and in this case, it shows ‘BAD_OBJECT_HEADER’ error. Let’s take look at error message.
“You PC ran into a problem and needs to restart. We’re just collecting some more info, and then we’ll restart for you.
1% complete
If you call a support person, give them this info:
Stop code: BAD OBJECT HEADER”
One possible reason behind ‘BAD_OBJECT_HEADER error (BSoD)’ is problematic System drivers. Missing, corrupted, outdated or incompatible device drivers can cause System issues like BSoD errors. If you are not aware, drivers are important application acts as mediator between hardware devices and Operating System installed in your computer. For example, if you have NVIDIA Graphics card integrated/connected to your Windows 10 64-bit OS computer, then NVIDIA graphics card driver for Windows 10 64-bit must be installed in your computer.
Updating System drivers to correct & latest version can fix any problems associated with such hardware, and improve the performances as well. In sort, one possible way to fix ‘BAD_OBJECT_HEADER error’ in Windows 10 is to update System drivers. However, this BSoD error can occur possibly due to corruption in System registry, Windows System files, DLL files, Windows update components, incorrect allocating of memory, malware or viruses attacks, or other reasons.
Other possible reasons can be Windows update. In some cases, updating Windows 10 OS can cause driver incompatibility issues mean some device drivers may not be compatible in Windows 10 after Windows update. However, Windows update also performs drivers update but if some drivers won’t receive the update for some reasons, you need to separately update those drivers. Let’s go for the solution.
How to fix BAD_OBJECT_HEADER error in Windows 10?
Method 1: Fix ‘BAD_OBJECT_HEADER error (BSoD)’ in Windows 10 with ‘PC Repair Tool’
‘PC Repair Tool’ is easy & quick way to find and fix BSOD errors, DLL errors, System registry errors, malware or viruses issues, and other System issues with just few clicks. This way, you can also fix this BSoD error. You can get this tool through below link/button.
Method 2: Update Windows 10
Updating Windows 10 can fix any bugs on System and improve the performances.
Step 1: Press ‘Windows + I’ keys together on keyboard to open ‘Settings’ App
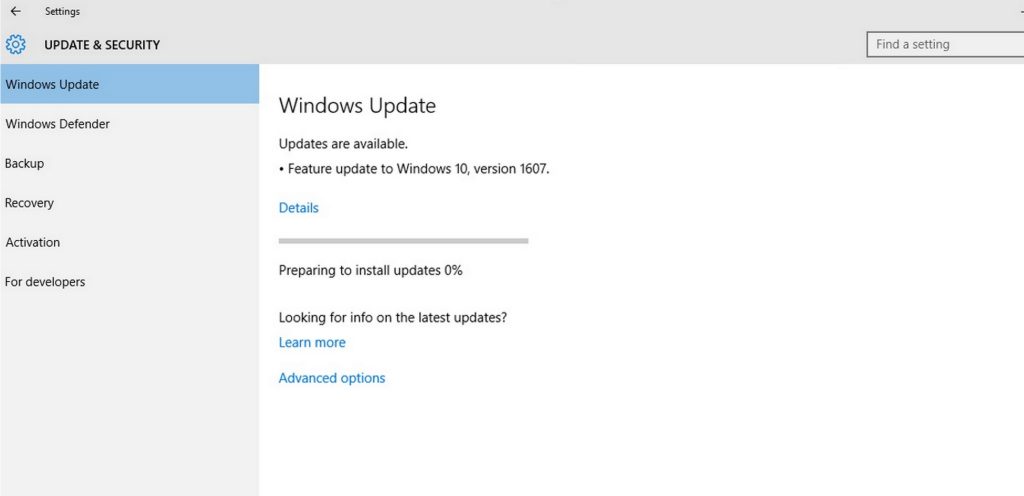
Step 2: In the opened ‘Settings’ App, go to ‘Update & Security > Windows Update’
Step 3: Click on ‘Check for updates’ button under ‘Windows Update’ section. This will automatically download and install the update if available. Make sure your computer is connected to the internet.
Step 4: Wait to complete the process. Once done, reboot your computer to see the changes and check if trouble is resolved.
Method 3: Stop Windows from automatically restarting
If you are unable to fix the issue due to constant reboot loop, then you can stop your Windows from automatically restarting.
Step 1: Press ‘Windows + X’ keys together on keyboard and select ‘System’
Step 2: In the opened window, locate ‘Advanced System Settings’ option, and click it
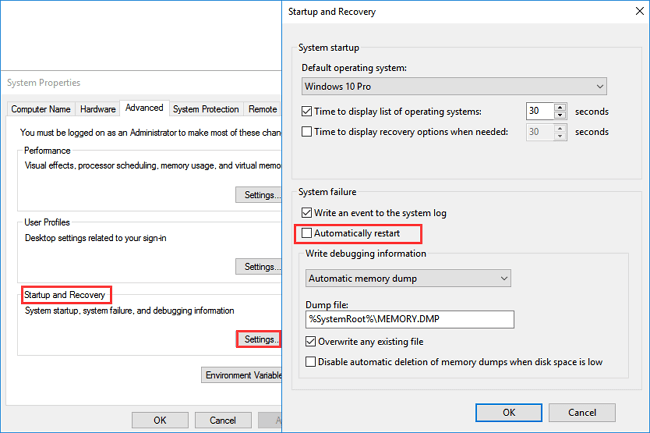
Step 3: In the opened ‘System Properties’ window, click on ‘Advanced’ tab, click ‘Settings’ under ‘Startup and Recovery’ section.
Step 4: Under ‘System Failure’ section, deselect the ‘Automatically Restart’ checkbox and hit ‘Ok’ button
Method 4: Update Windows 10 Drivers
Updating System drivers can fix this issue in Windows 10. Let’s try.
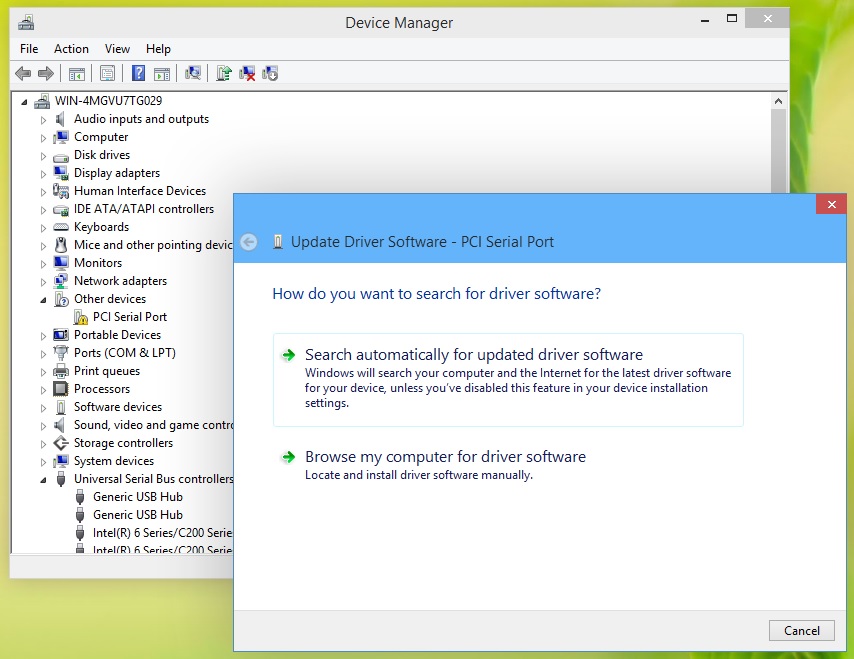
Step 1: Press ‘Windows + X’ keys together on keyboard and select ‘Device Manager’
Step 2: In the opened ‘Device Manager’, expand each device category one-by-one and check if any device driver shows ‘Yellow Exclamation/Questioned Mark’ on it. If yes, right-click on it, and select ‘Update Driver’
Step 3: Follow on-screen instructions to finish update process. Once done, restart your computer to see the changes and check if problem is resolved.
Update Windows 10 drivers [Automatically]
You can also try to update System drivers including graphics card driver, audio driver, network adapter driver and other device drivers using ‘Automatic Driver Update Tool’. This software will automatically find the latest drivers for Windows computer and install them into your computer. You can get this software through below button/link.
Method 5: Run ‘Windows Memory Diagnostic’ Tool
You can fix this BSoD error by checking and resolving memory corruption problem using ‘Windows Memory Diagnostic’ Tool.

Step 1: Press ‘Windows + R’ keys together on keyboard to open ‘Run’ dialog box.
Step 2: In the opened ‘Run’ dialog box, type ‘mdsched.exe’ and hit ‘Ok’ button to open ‘Windows Memory Diagnostic’ Tool.
Step 3: In the opened window, click on ‘Restart now and check for problems (recommended)’
Step 4: Wait to complete the process. Once done, please check if trouble is resolved.
Method 6: Run SFC Scan
SFC (System File Checker) tool offers you to repair System files and this way, you can fix BSoD errors.

Step 1: Press ‘Windows + X’ keys together on keyboard and select ‘Command Prompt as Administrator’
Step 2: In the opened ‘Command Prompt’, type ‘sfc / scannow’ and hit ‘Enter’ key to execute.
Step 3: Wait to complete the process. Once done, restart your computer and check if BSoD error is resolved.
Method 7: Uninstall problematic software
If this error is started occurring after a specific program or software installation for some reason, then you can fix the issue by uninstalls such program.
Step 1: Press ‘Windows + X’ keys together on keyboard and select ‘Control Panel’
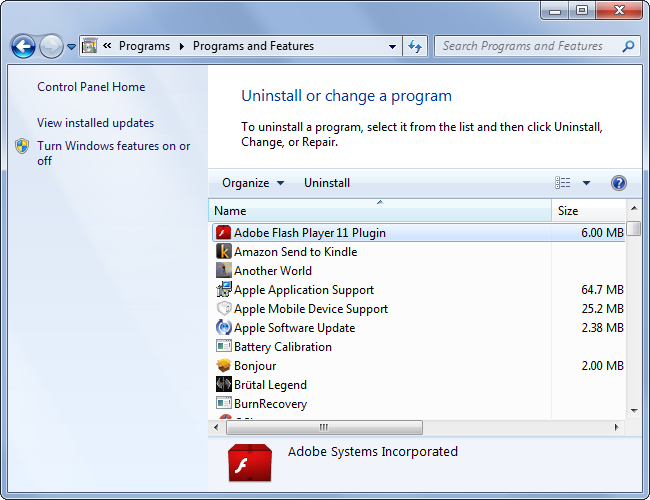
Step 2: In the opened ‘Control Panel’, go to ‘Programs & Features’ or ‘Apps & Features’
Step 3: Find the program causing this error, click on it and select ‘Uninstall’
Step 4: Follow on-screen instructions to finish uninstall process. Once done, restart your computer and check if trouble is resolved.
Method 8: Uninstall problematic Windows Update
As mentioned above, updating Windows 10 can cause this type of issue in some cases. In such case, you need to uninstall such Windows update.
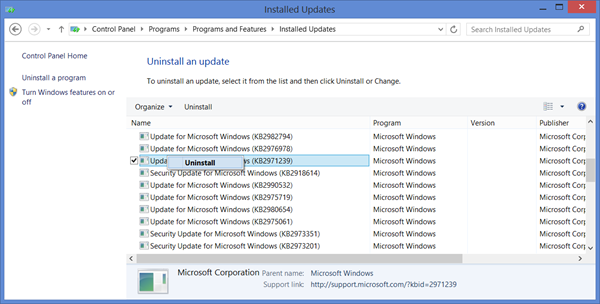
Step 1: Open ‘Settings’ App in Windows 10
Step 2: Go to “Update & Security > Windows Update > View Update History”
Step 3: Click on ‘Uninstall updates’. This will show the list of received update.
Step 4: Right-click on the update that causes this issue, and select ‘Uninstall’
Step 5: Follow on-screen instructions to finish the process. Please check if trouble is resolved.
Method 9: Run CHKDSK Scan
CHKDSK command is ‘Disk Checking Utility’ offers you to fix worse sectors presented in Hard drive.
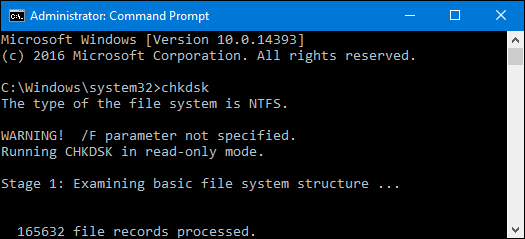
Step 1: Press ‘Windows + X’ keys together on keyboard and select ‘Command Prompt as Administrator’
Step 2: Type ‘chkdsk C: /f /r /x’ command and hit ‘Enter’ key to execute.
Step 3: Wait to complete the process. Once done, reboot your computer to see the changes and check if problem is resolved.
Note: Here, ‘chkdsk C: /f /r /x’ commands indicates that:
f- represents fixing the detected problems.
r- represents detecting the existing problems in the Disk.
x- represents splitting up of the disk volume to facilitate the detection process.
C: – represent the Disk where the OS is installed. You can change this to D:, E: or any depending upon your usage.
Method 10: Run System Scan with ‘SpyHunter Antivirus Software’ for malware or viruses
As mentioned, malware or viruses attack can be one possible reason behind this type of issue. So, you can fix the issue by removing malware or viruses using ‘SpyHunter Antivirus Software’. This tool offers you to find and remove all types of malware or viruses with just few clicks. You can get this tool through below link/button.
Method 11: Perform System Restore Operation
If you are unable to fix this issue with solutions mentioned above, then you can try to fix the issue by restoring your computer to restore point when everything was working well.
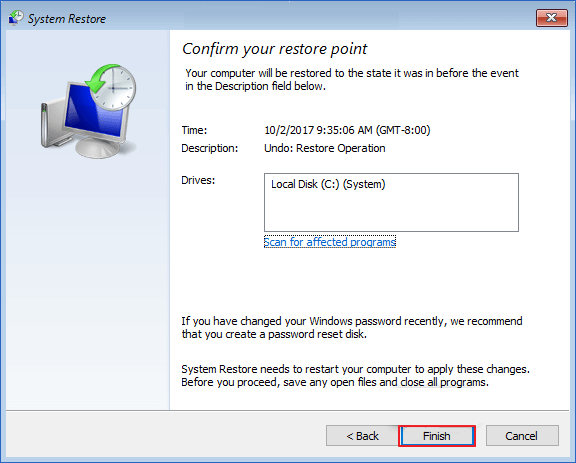
Step 1: Press ‘Windows + R’ keys together to open ‘Run’ dialog box, type ‘rstrui’ and hit ‘Ok’ button to open ‘System Restore’
Step 2: In the opened ‘System Restore’ window, click on ‘Next’
Step 3: Select a restore point when everything were working well, and hit ‘Next > Finish’
Step 4: Wait to complete System restoring process. Once done, please restart your computer and check if trouble is resolved.
Conclusion
I am sure this post helped you on How to Fix BAD_OBJECT_HEADER error in Windows 10 with several easy methods. You can read & follow our instructions to do so. That’s all. For any suggestions or queries, please write on comment box below.


