What is ntfs.sys error Windows 10?
If you are facing ‘ntfs.sys error Windows 10’ – Blue Screen of Death (BSOD) error while trying to start Windows 10 or in the middle of your work on computer, then you are in right place for the solution. Here, you will be guided with easy automatic and manual methods to fix the issue. Let’s starts the discussion.
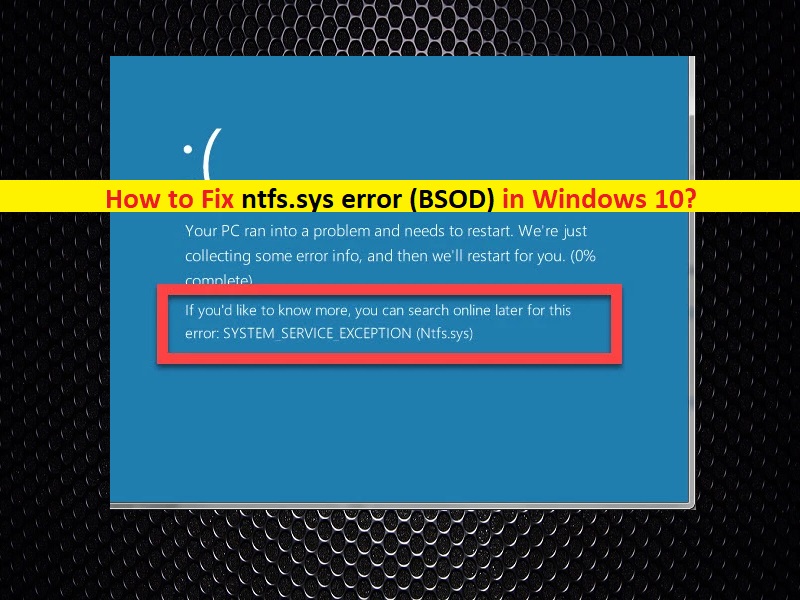
‘ntfs.sys error’: It is common Windows error associated with Blue Screen of Death (BSOD) error. This BSOD error is appeared with Windows Stop Code Page_Fault_In_Nonpaged_Area or SYSTEM_SERVICE_EXCEPTION and saying ‘Your PC ran into a problem and needs to restart. We’re just collecting some error info, and then we’ll restart for you’.
ntfs.sys is file ‘.sys’ file extension can be associated with your Windows 10 Operating System or third-party device driver. Usually, ‘.Sys’ files allow attached or internal hardware to communicate with OS and third-party software programs. Corruption in Windows driver files and faculty hardware could be reason behind this BSOD error or SYS errors.
This BSOD error is appeared in the middle of your work on computer or whiles you trying to boot/reboot your Windows 10 computer. ‘ntfs.sys BSOD error’ prevents you from accessing Windows 10 desktop properly and can cause several other programs from stop functions due to Windows restart loop unexpectedly.
The possible way to resolve the issue is to update your device drivers and Windows OS, fix problem with attached hardware or remove it, check your antivirus software is not problematic and other solutions. Let’s go for the solution.
How to fix ntfs.sys error Windows 10?
Method 1: Fix Page_Fault_In_Nonpaged_Area BSOD error/ SYSTEM_SERVICE_EXCEPTION BSOD error (ntfs.sys) with ‘PC Repair Tool’
‘PC Repair Tool’ is easy & quick way to find and fix BSOD errors, DLL errors, EXE errors, problems with programs, malware or viruses issues, system files or registry issues, and other system issues with just few clicks. You can get this tool through button/links below.
Method 2: Enter your Safe Mode with Networking
Before performing any methods to make sure don’t face any interruption/problem while trying to resolve the issue, you can enter into Windows 10 Safe Mode.
Step 1: Restart your computer several times until ‘Automatic Repair’ is appeared
Step 2: Once appeared, click on ‘Troubleshoot > Advanced Option > Startup Settings > Restart’. This will restart your computer
Step 3: During System boot, press ‘F5’ or ‘5’ key on keyboard to enable ‘Safe Mode with Networking’
Step 4: Once you have entered into ‘Safe Mode’, you can perform any methods to resolve the issue.
Method 3: Update Windows 10 Drivers
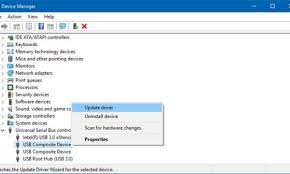
Step 1: Press ‘Windows + X’ keys on keyboard and select ‘Device Manager’
Step 2: Expand each device category one-by-one and check if any device is showing ‘Yellow Mark’ on it. Right-click on the device showing ‘Yellow Mark’ on it, and select ‘Update Driver’
Step 3: Follow on-screen instructions to finish the update process. Once done, restart your computer and check if the issue is resolved.
Method 4: Update Windows 10 drivers [Automatically]
You can also try to update your all Windows drivers with ‘Automatic Driver Update Tool’. This software will automatically find the latest updates for all Windows drivers and then install them into computer. You can get this tool through button/link below.
Method 5: Run System Scan with ‘SpyHunter Antivirus Software’
Malware or viruses attack in computer can cause corruption in system files, drivers files and other problems. You can try to remove all infections with ‘SpyHunter Antivirus Software’ in order to resolve this issue. This software offers you to find and remove all types of malware or viruses in computer. You can get this tool through button/link below.
Method 6: Run SFC Scan, CHKDSK Scan and DISM Scan
You can resolve the issue by running SFC (System File Checker) tool to repair system files, DISM tool to repair hard disk image issue, and run CHKSK tool to repair hard disk issues, in order to resolve this BSOD error.
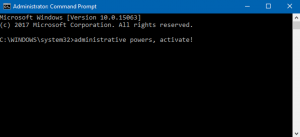
Step 1: Press ‘Windows + X’ keys on keyboard and select ‘Command Prompt as Administrator’
Step 2: Run SFC Scan. Type ‘sfc /scannow’ command and hit ‘Enter’ key to execute
Step 3: Now, run CHKDSK Tool. Type ‘chkdsk f: /f’ command and hit ‘Enter’ key to execute
Step 4: After that, type the following command and hit ‘Enter’ key to execute
DISM /Online /Cleanup-Image /RestoreHealth
Step 5: Wait to finish the process. Once done, restart your computer and check if the trouble is resolved.
Method 7: Run Memory Diagnostic Tool in Windows 10
You can find and fix Windows 10 memory like RAM issues in order to resolve this BSOD error. You can run Windows 10 built-in Windows Memory Diagnostic Tool offers you to repair memory issues.
Step 1: Type ‘Windows Memory Diagnostic’ in ‘Windows Search box’ and open ‘Windows Memory Diagnostic’ from results appeared
Step 2: In the opened ‘Windows Memory Diagnostic’ window, select ‘Restart now and check for problems (Recommended)’
Step 3: Wait to complete the process. Once done, restart your computer to see the changes and check if the trouble is resolved.
Method 8: Update Windows 10 OS
If the problem is still persist, then you can try to resolve the issue by updating Windows 10 to latest built.
Step 1: Press ‘Windows + I’ keys on keyboard to open ‘Settings’ App in Windows 10
Step 2: Go to ‘Update & Security > Windows Update’ and click on ‘Check for updates’ button
Step 3: This will automatically download and install the latest Windows Update in computer. Once done, restart your computer to see the changes and check if the issue is resolved.
Conclusion
I am sure this post helped you on How to Fix ntfs.sys error Windows 10 with several easy steps/methods. You can read & follow our instructions to do so. If the post really helped you, then you can share the post with others to help them. That’s all. For any suggestions or queries, please write on comment box below.


