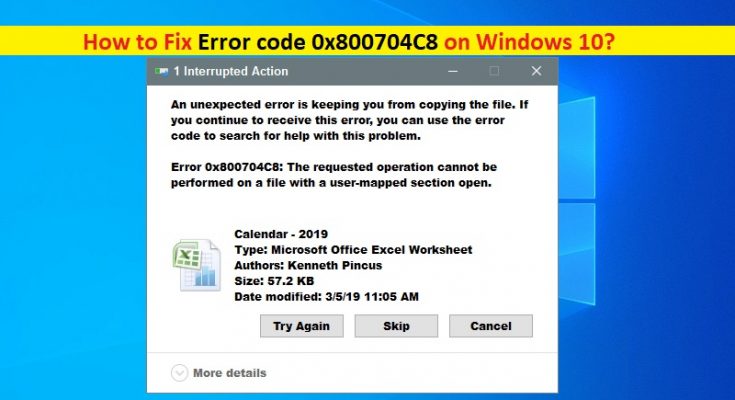
What is Error code 0x800704C8 on Windows 10?
Error code 0x800704C8 on Windows 10 is appeared usually when you try trying to copy certain files. This error prevents you from copying certain files in your Windows 10 computer. The error message is appeared with text saying ‘The Requested operation cannot be performed on a file with a user-mapped section opened’. If you are facing the same error, then you are in right place for the solution.
The possible reason behind Error code 0x800704C8 is corruption in system files associated with your Windows operating system that is affecting your OS ability to move and manage files. In such case, you can try to resolve the issue by running SFC scan and DISM scans to repair system files and hard disk image issue in computer.
This issue can also be occurred due to missing ownership of the file that you are trying to copying. Ownership issue with file that is preventing you from managing certain files as your operating system believes there are currently in use. In such case, you can given full ownership to the file to move and manage it freely in computer in order to fix the issue.
Another possible reason behind this issue can be your third-party antivirus software or Windows Firewall. It might possible that your third-party antivirus or Windows Firewall is interfering you from copying certain files in Windows 10 computer. You can disable Real-Time Protection of your security tool or uninstall security tool in order to fix the issue.
Also, this issue occurs possibly when you trying to coping files/programs that is not running as administrator permission. You can fix the issue by giving the file/program a admin permission. Let’s go for solution.
How to fix Error code 0x800704C8 on Windows 10?
Method 1: Fix ‘Error code 0x800704C8’ with ‘PC Repair Tool’
‘PC Repair Tool’ is easy & quick way to find and fix PC problems like BSOD errors, DLL errors, EXE errors, problems with programs, malware or viruses issue, system files or registry issues, and other types of issues with just few clicks. You can get this tool through button/link below.
Method 2: Taking ownership of file
As mentioned, one possible way to resolve the issue is to give your file to full ownership in your computer. To do so, you can try third-party program ‘UnLocker’ to take full ownership of file prior to retrying the copying the process.
This software is available for the free and offers you to take control over your files and give the necessary permissions so you can manage and copy your files without any issue.
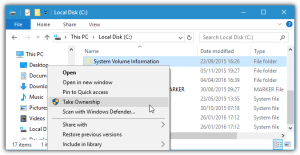
Step 1: Open your browser and visit ‘Softpedia Official page’. Search or go for ‘Download page of Unlocker Software’
Step 2: Download the Unlocker software, double-click on ‘Downloaded file’ and follow on-screen instructions to finish installation
Step 3: Once installed, open ‘Unlocker’ softare and use ‘Browser’ window to locate the files/folder, and select it and hit ‘Ok’
Step 4: In next window, select ‘No Action’ from drop down and select ‘More’ and then hit ‘Ok’ to move the locked object. Please check if the issue is resolved.
Method 3: Disable or uninstall third-party antivirus
Sometimes, this issue occurs due to your third-party antivirus software if your antivirus offer over security features. You can disable or uninstall your antivirus software in order to fix the issue.
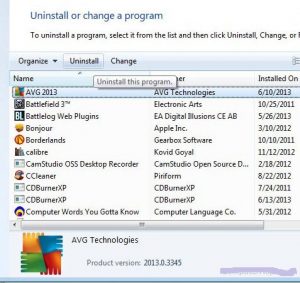
To disable antivirus:
Step: Right-click on ‘Antivirus’ icon on ‘System Tray’ and select ‘Stop’, ‘Disable’ or other similar options to disable your antivirus
To uninstall third-party antivirus:
Step 1: Press ‘Windows + R’ keys on keyboard, type ‘appwiz.cpl’ in the opened ‘Run’ dialog box and hit ‘Ok’ to open ‘Programs & Features’ in ‘Control Panel’
Step 2: In the opened window, find and select your third-party antivirus software, and click on ‘Uninstall’. Follow on-screen instructions to finish uninstall process.
Step 3: Once done, restart your computer and check if the error is resolved.
Method 4: Open the program with Administrator permission
This issue might occur if the file/program is not running with administrator permission. In most cases, this issue is occurred while you trying to move the file that is currently part of Visual Studio Project. You can try to fix the issue by giving the program admin permission.
Step 1: Open ‘File Explorer’ and locate the executable file of program like ‘Visual Studio’. Or locate Visual Studio application icon on desktop.
Step 2: Right-click on it and select ‘Run as Administrator’ option
Or
Step 1: Ensure that Visual Studio is closed and there is no associated processes running in background.
Step 2: Open ‘File Explorer’ and locate where you installed Visual Studio like ‘C:\Program Files (x86)\Microsoft Visual Studio\2019’
Step 3: Locate and right-click on ‘VisualStudio.exe’, and select ‘Properties’
Step 4: In the opened window, click on ‘Compatibility’ tab, and select ‘Run this program as an checkbox and then hit ‘Apply’ and ‘Ok’ button to see the changes
Step 5: Once done, re-launch Visual Studio and check if the trouble is resolved.
Method 5: Run SFC and DISM Scan
You can also try to resolve the issue by running SFC Scan and DISM scan to repair system files and hard disk image issue. These tools are Windows 10-built-in tool offers to find and fix PC problems.
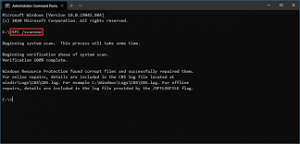
Step 1: Press ‘Windows + X’ keys on keyboard and select ‘Command Prompt as Administrator’
Step 2: Run SFC Scan. Type ‘sfc /scannow’ command and hit ‘Enter’ key on keyboard to execute
Step 3: Now, run DISM scan. Type the following command and hit ‘Enter’ key to execute
Dism /Online /Cleanup-Image /RestoreHealth
Step 4: Wait to complete the process. Once done, reboot your computer to see the changes and check if the error is resolved.
Method 6: Reset Windows 10 OS
If the problem is still persist, then you can try to fix the issue by reinstalling Windows 10 OS, clean install Windows 10 or install Windows 10 repair in your computer. It might possible you are facing some problem with your system files like corruption in system files that is affecting the dependency used backup sequence. In such case, resetting Windows, repair Windows 10 or clean install Windows 10 can be possible way to resolve the issue.
To Reset Windows 10:
Step 1: Press ‘Windows + I’ keys on keyboard to open ‘Settings’ App in Windows 10
Step 2: Go to ‘Update & Security > Recovery’ and under ‘Reset This PC’ section, click ‘Get Started’ button
Step 3: In next window, choose ‘Keep my files’ option if you want to keep safe your personal files, and then hit ‘Next’
Step 4: In the next window, click on ‘Reset’ button. This will restart your computer and it will boot back up again. Once done, please check if the trouble is resolved.
Conclusion
I am sure this article helped you on How to fix Error code 0x800704C8 on Windows 10 with several easy steps/methods. You can read & follow our instructions to do so. That’s all. For any suggestions or queries, please write on comment box below.
