What is ‘Nvidia Control Panel not working’ issue in Windows 10?
‘Nvidia Control Panel’ is Utility software available for Windows PC offers users to access critical functions of NVIDIA drivers. This software is used by experienced PC gamers, offers them improves the gaming experience on Windows computer. In sort, this application can make your PC games appear faster, cleaner and sharper.
‘Nvidia Control Panel’ application in Windows 10 features full screen anti-aliasing, configuration settings, and other important functions to improve gaming experience. It offers you to modify the game imagery and resolution, and several other features & settings to improve game quality.
However, users reported that ‘Nvidia Control Panel not working/opening’ on Windows 10 and prevents them from accessing graphics settings for the NVIDIA graphics card. Note that ‘Nvidia Control Panel’ application works on computer with NVIDIA graphics card attached. So if you are facing this error, then at first you should make sure that you have NVIDIA graphics card integrated/connected to your computer.
Another possible reason behind this issue is outdated or corrupted NVIDIA Graphics Card Driver. To check the status of your graphics card driver, open ‘Device Manager’, expand ‘Display Adapters’ category, and click on your NVIDIA Graphics card driver. Check if it shows ‘Yellow Exclamation/Questioned Mark’ on your display driver. If yes, then Graphics Card Driver Update is necessary.
‘Nvidia Control Panel not working/opening’ issue also occurs possibly if ‘Nvidia Control Panel’ application is not properly installed or has been corrupted. In such case, you can uninstall ‘Nvidia Control Panel’ application, and then reinstall the correct & latest version of this software to fix the issue.
Some common problem associated with ‘Nvidia Control Panel not working’:
- Nvidia Control Panel has stopped working Windows 10
- Nvidia Control Panel not working Windows 7 64-bit
- Can’t find Nvidia Control Panel
- Nvidia Control Panel not showing in Windows 10
- Nvidia Control Panel won’t launch/open
How to fix Nvidia Control Panel not working/opening Windows 10?
Method 1: Fix ‘Nvidia Control Panel not working’ issue with ‘PC Repair Tool’
In this post, you will be guided with manual and automatic method to fix this issue. If you don’t have enough time or knowledge to implement manual steps, you can try ‘Automatic Method’. ‘PC Repair Tool’ is easy & quick way to find and fix BSOD errors, System registry errors, DLL errors, software errors, malware or viruses issues, and other System issues with few clicks. This way, you can fix ‘Nvidia Control Panel not working’ issue. You can get this tool through link below.
Method 2: Restart ‘Nvidia Control Panel’ process
You can fix the issue by restarting the ‘Nvidia Control Panel’ process through ‘Task Manager’
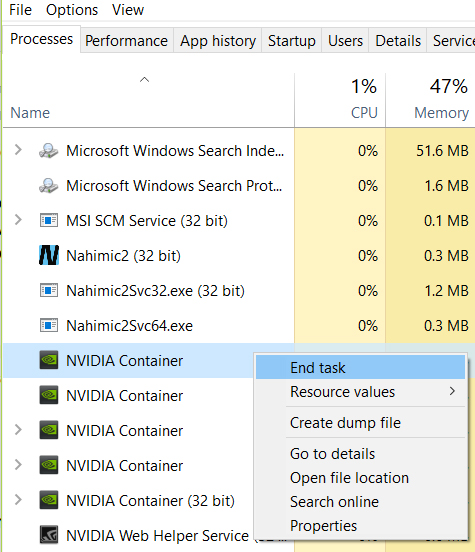
Step 1: Press ‘CTRL + SHIFT + ESC’ keys together on keyboard to open ‘Task Manager’
Step 2: Under ‘Processes’ tab, locate ‘Nvidia Control Panel’ process, right-click on it and click on ‘End Task’
Step 3: Now, open ‘Nvidia Control Panel’ application and check if trouble is resolved.
Method 3: Restart Service for NVIDIA Display Driver
Restarting services for NVIDIA graphics card driver can fix this issue. Let’s try.
Step 1: Press ‘Windows + R’ keys together on keyboard to open ‘Run’ dialog box
Step 2: In the opened ‘Run’ dialog box, type ‘services.msc’ and hit ‘Ok’ button
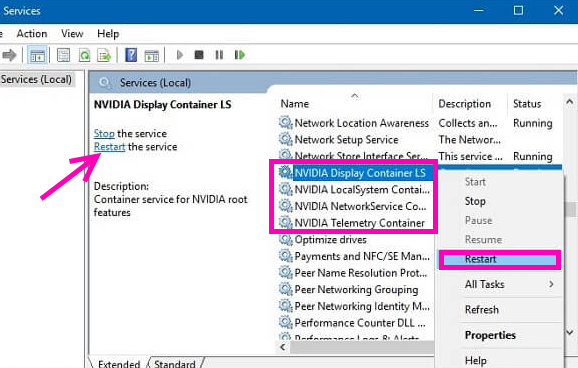
Step 3: In the opened ‘Windows Services Manager’ or ‘Services’ window, locate ‘NVIDIA Display Container LS’ service, double-click on it to open its ‘Properties’
Step 4: In the ‘Properties’ window, set the ‘Startup type’ to ‘Automatic’ and click on ‘Start’ button under ‘Service Status’
Step 5: Click on ‘Apply’ and ‘OK’ to save the changes. Repeat the same steps for ‘NVIDIA LocalSystem Container’ service
Step 6: Once done, please check if trouble is resolved.
Method 4: Update NVIDIA Graphics Card Drivers in Windows 10
As mentioned above, outdated or corrupted NVIDIA display drivers can cause this type of issue. You can fix the issue by updating the driver.
Step 1: Press ‘Windows + X’ keys together on keyboard and select ‘Device Manager’
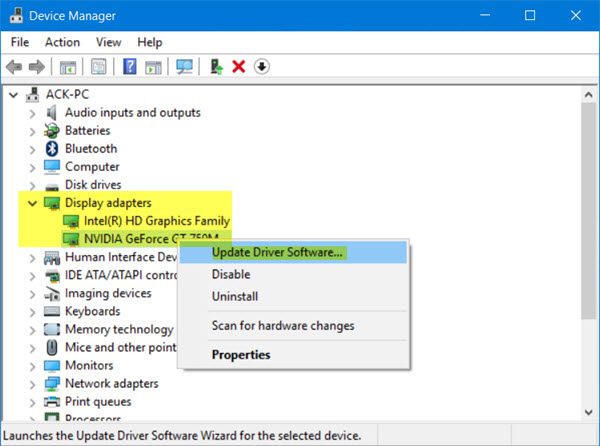
Step 2: Locate and expand ‘Display Adapters’ category
Step 3: Right-click on NVIDIA Driver and select ‘Update Driver Software’
Step 4: Follow on-screen instructions to finish update process.
Step 5: Once done, restart your computer and check if trouble is resolved.
Update Graphics card driver in Windows 10 [Automatically]
You can also try to update the driver using ‘Automatic Driver Update Tool’. This software will automatically download and install the latest updates for Windows drivers. You can get this tool through below link.
Method 5: Check for Windows 10 update
Updating Windows 10 OS can fix problem associated Windows, System drivers and other issues, and improve the performances as well.
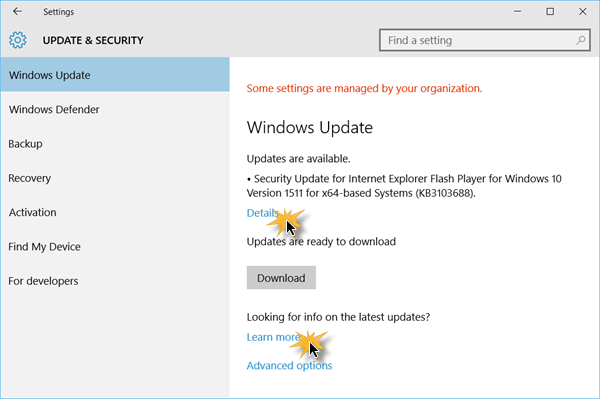
Step 1: Open ‘Settings’ App in Windows 10
Step 2: Go to ‘Update & Security > Windows Update’
Step 3: Click on ‘Check for updates’ button. This will automatically find the latest update, and download & install in your computer.
Step 4: Once done, restart your computer to save the changes and please check if ‘Nvidia Control Panel not working’ issue is resolved.
Method 6: Run the ‘Nvidia Control Panel’ from installation folder
If you are still unable to open ‘Nvidia Control Panel’, then you can try to open the application through installation folder.
Step 1: Open ‘File Explorer’ and navigate to ‘C:\Program Files\NVIDIA Corporation\Control Panel Client’
Step 2: Locate ‘nvcplui.exe’ file and double-click on it to run. Check if trouble is resolved. If yes, then you can create a shortcut of this application on your desktop to quick access.
Step 3: To put this .exe file into ‘C:Program/Data/Microsoft/Windows/Start Menu/Programs/StartUp’ folder, open ‘File Explorer’ again and navigate this location, and then paste ‘nvcplui.exe’ file in opened folder. By doing so, the application will start automatically with your System every time.
Method 7: Turn OFF ‘Fast Boot Option’ in Windows 10
‘Fast Boot’ – Windows built-in feature allow Windows System will boot faster than in previous windows version. In some case, enabled ‘fast boot’ cause ‘Nvidia Control Panel not working’ or similar issue, so you can fix the issue by disabling this option.
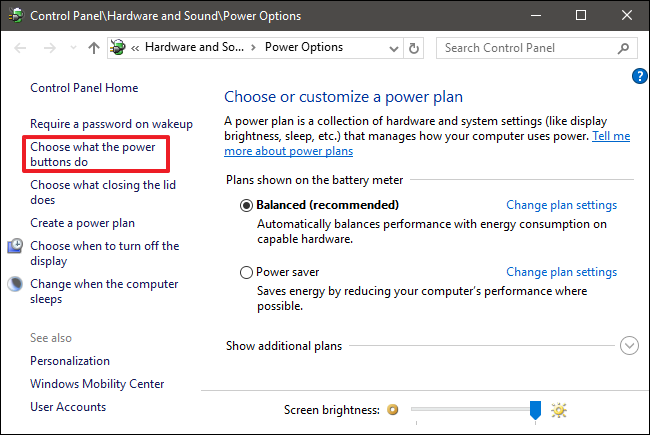
Step 1: Press ‘Windows + X’ keys together on keyboard and select ‘Power Options’
Step 2: In the opened window, click on ‘Choose what the power button do’ option in left pane
Step 3: Click on ‘Change Settings that are currently unavailable’
Step 4: Uncheck the ‘Turn ON Fast Startup (recommended)’ checkbox and click on ‘Save Changes’.
Method 8: Make sure ‘Nvidia Control Panel’ application is not hidden
Step 1: Open ‘Control Panel’ and choose ‘Nvidia Control Panel’ and open it
Step 2: In the opened ‘Nvidia Control Panel’, go to ‘Desktop’ tab and select ‘Add desktop Context Menu’ and ‘Show Notifications Tray icon’
Step 3: Once done, you can try to access the application through Taskbar and in your context menu.
Conclusion
I am sure this post helped you on How to fix Nvidia Control Panel not working/opening issue in Windows 10 with several easy steps. You can read & follow our instructions to do so. That’s all. For any suggestions or queries, please write on comment box below.


