There are so many Windows 10 users who have reported the issue of windows update error 8024a112. Adding to this, users have also stated that they have encountered this issue while trying to update Windows 10.
This error code typically comes with an error message:
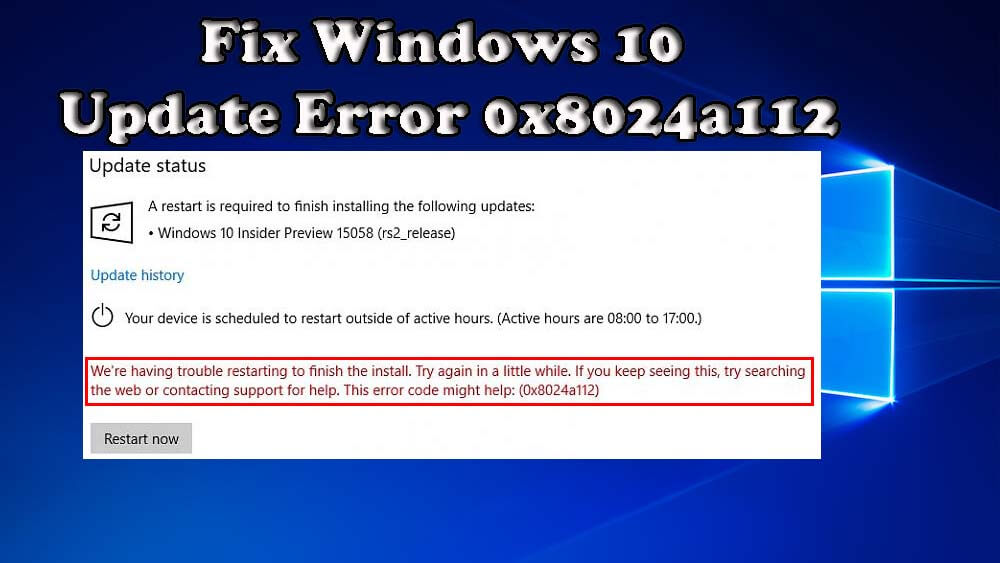
We’re having trouble restarting to finish the install. Try again in a little while. If you keep seeing this, try searching the web or contacting support for help. This error code might help: (0x8024a112)
This is essentially an update error that doesn’t allow you to restart your system to finish the install. Every time you finish the install and try to restart your computer, it fails. As a result, if you want to resolve this problem then I have a list of solutions for you. So, go ahead.
Method 1: Run Windows Update Troubleshooter: In order to fix all kinds of Windows update error the first thing you should do is to run Windows Update Troubleshooter. Windows 10 offers an in-built tool troubleshooter, to fix various issues and errors of a computer. In order to run WUT, go through the given steps:
Go to the Windows Start button > Settings
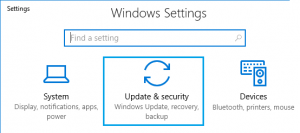
Click on the Update and Security
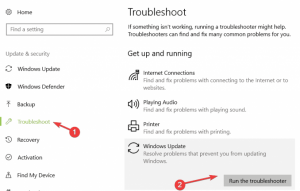
On the left panel, select the Troubleshoot option
Go to the Windows Update section
Click on Run the troubleshooter
It will take some time to detect and fix the error.
After finishing, restart your computer.
Method 2: Reset Windows Update component: Resetting the Windows update components can allow you to download the files, updates and solving this issue. To reset the windows update components, below are the steps:
In the Windows search box, type cmd
After that, press Ctrl + Shift + Enter together to open command prompt in Administrator mode

Inside it, type the following commands and press Enter
net stop wuauserv
net stop cryptSvc
net stop bits
net stop msiserver
ren C:\Windows\SoftwareDistribution SoftwareDistribution.old
ren C:\Windows\System32\catroot2 catroot2.old
net start wuauserv
net start cryptSvc
net start bits
net start msiserver
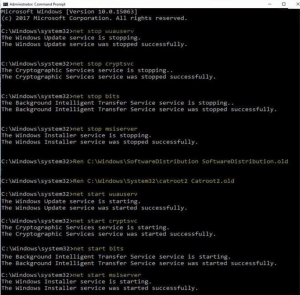
After executing these commands, type exit and press Enter in order to close the command prompt
In order to see if the problem has been solved or not, reboot your PC.
Method 3: Disable Antivirus: Sometimes, your antivirus may also encounter the update and show such errors. To stay away from this, disable your antivirus programming or any outsider security programming and try running the update again.
See if now your PC reboots automatically after installing the update.
Method 4: Remove entries from your registry: According to users, sometimes this problem occurs due to problems with your registry. You can easily fix it by removing the problematic entries. To do so, follow these steps:
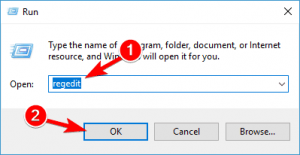
Press Win + R > Type regedit > click OK
In the left pane, navigate to HKEY_LOCAL_MACHINESOFTWAREMicrosoftWindowsCurrentVersionWindowsUpdateAuto UpdateRequestedAppCategories key and expand it
Right-click 8B24B027-1DEE-BABB-9A95-3517DFB9C552 key and remove it. Before removing the key, it’s a good idea to extract it just in case anything goes wrong.

After this, restart your system and see if the problem still appears.
Method 5: Uninstall VPN/ Proxy Providers: In some cases, this error occur when Windows Update component doesn’t accept the VPN client or Proxy server. Most of the times, Checkpoint VPN found to be responsible for the occurrence of this error. If you are using a VPN, then it is highly likely that this application is conflicting with the Windows Update component.
In order to solve this issue, you need to uninstall the VPN client. To do so, follow below mentioned steps:
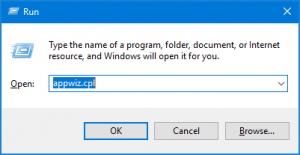
Press Win + R > Type appwiz.cpl and tap the Enter key
In Programs and Features windows, scroll down and locate the VPN or Proxy application
Right-click on the application and click on Uninstall
To uninstall the application, follow on-screen instructions
Now, restart your machine. after this, try to update your windows 10 and check if you can do it without facing an error.
Method 6: Restart your computer: If the above mentioned solutions won’t work then all you need to do is restart your computer and run Windows Update again. Microsoft mentioned this solution and it proved as a good one. So, before you try anything more serious than simply reboot your PC and try to download updates again.
Best and Easy way to fix windows update error 8024a112
Although, the above-mentioned workaround will help you to get rid of this problem in Windows 10. But if in case you find the methods tricky then here is an easy for you to fix this error. So, use PC Repair Tool. This tool is designed to fix all Windows PC related issues and errors such as DLL, update, registry, BSOD, game, etc. repairs damaged system files, remove malware and speed up slow PC.


