What is nvwgf2umx.dll error in Windows 10/8/7?
‘nvwgf2umx.dll’ is DLL (Dynamic Link Library) file is designed & developed by Microsoft Corporation for NVIDIA D2D10 drivers. This file was first release for Windows 7 OS platform in 2009. If you are not aware, DLL are prevalent in Microsoft Windows OS based computer in which some DLL files belongs to Operating System while some are implemented by third-party programs. DLL files are used to run scripts/codes and provide the elements that are needed by the program at the particular time frame.
However, users reported that they faced ‘nvwgf2umx.dll error’ that has been preventing them from enjoying their time with many gamers for years. This error occurs with various popular PC games like Grand Theft Auto V, Call of Duty Warzone, Call of Duty Modern Warfare, Fallout 4, Final Fantasy XIV, Dark Souls 3 and many PC games. Let’s take a look at error message.
“An unexpected error has occurred. Exiting [Gamename].
nvwgf2umx.dll + [string]
nvwgf2umx.dll + [string]
<…>”
Or
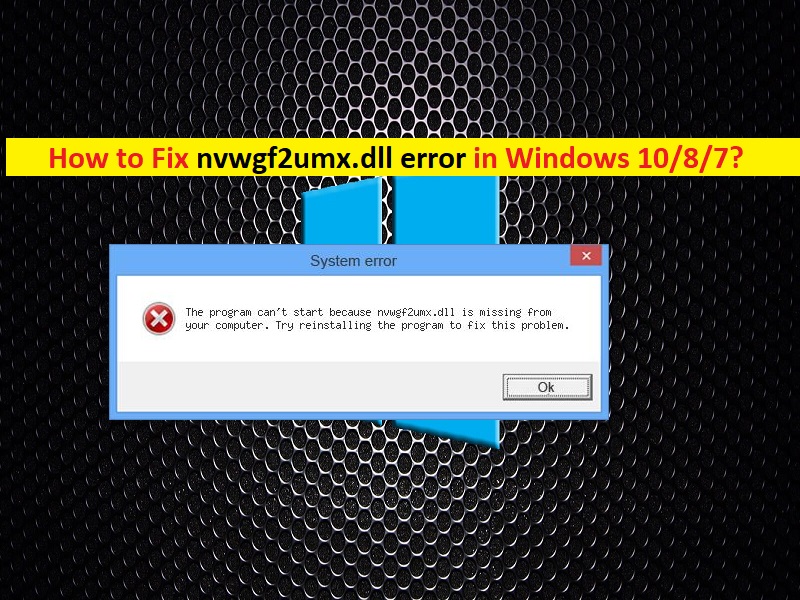
“The program can’t start because nvwgf2umx.dll is missing from your computer. Try reinstalling the program to fix this problem.”
nvwgf2umx.dll error causes PC games to crash at random times. The possible reasons behind this error can outdated/corrupted o incompatible graphics card drivers, corruption in system files or registry, incorrect configuration settings and other reasons. The program with game applications like Cyberpunk, or other game applications installed in your computer can also cause this type of error.
In such case, you resolve the issue by reinstalling or update the game applications. If you are facing the same issue, then you are in right place for the solution. Here, you will be guided with easy automatic & manual steps to resolve the issue. Let’s go for the solution.
How to fix nvwgf2umx.dll error in Windows 10/8/7?
Method 1: Fix ‘nvwgf2umx.dll error’ with ‘PC Repair Tool’
‘PC Repair Tool’ is easy & quick way to find and fix PC problems like BSOD errors, DLL errors, EXE errors, problems with programs, malware or viruses issues, and other system issues with just few clicks. You can get this tool through button/link below.
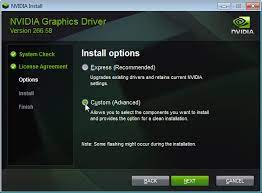
Method 2: Reinstall or update Graphics Card drivers
One possible way to resolve the issue is to reinstall or update graphics card (GPU) drivers in Windows.
Reinstall GPU drivers in Windows 10:
Step 1: Press ‘Windows + I’ keys on keyboard to open ‘Settings’ App in Windows 10
Step 2: Go t to ‘Apps > Apps & Features’, find your graphics card driver like NVIDIA graphics
Step 3: Right-click on it and select ‘Uninstall’ and follow on-screen instructions to finish uninstall process. Restart your computer once finished.
Step 4: Now, open your browser and visit your graphics card manufacturer’s official site, and download the latest graphics card drivers according to your graphics card model and operating system version.
Step 5: Double-click on ‘Downloaded driver setup file’ and follow on-screen instructions to finis installation. Once done, restart your computer and check if the trouble is resolved.
Update Graphics card driver [Autoamtically]
You can also try to update graphics card driver with ‘Automatical Driver Update Tool’ with just few clicks. You can get this tool through link/button below.
Method 3: Run SFC Scan
SFC (System file checker) Windows built-in tool offers you to repair system files issues in order to fix ‘nvwgf2umx.dll error’.

Step 1: Press ‘Windows + X’ keys on keyboard and select ‘Command Prompt as Administrator’
Step 2: Type ‘sfc /scannow’ command in opened Command Prompt and hit ‘Enter’ key to execute
Step 3: Wait to finish the process and once done, restart your computer and check if the issue is resolved.
Method 4: Verify integrity of game files
If you use ‘Steam’ platform or similar platform for gamming, then you can verify the game file integrity within the platform. To do so, follow the steps below.

On Steam:
Step 1: Go to your ‘Library’, right-click on the problematic game and select ‘Properties’
Step 2: Now, go to ‘Local Files’ and select ‘Verify Integrity of game files’
On Origin:
Step 1: Open ‘Origin’ platform and go to ‘Library’
Step 2: Right-click on the game and select ‘Repair’ and wait to finish the process
On GOG:
Step 1: Open ‘GOG’ and go to ‘Owned Game’ section
Step 2: Right-click on game and select ‘Manage Installation > Verify/Repair’ and wait to finish the process.
On Epic Games:
Step 1: Open ‘Epic Games’ and go to your game ‘Library’
Step 2: Click on ‘thee-dots’ next to the game and select ‘Verify’. Wait to finish the process.
Method 5: Reinstall the game
As mentioned, problem with your PC game app can cause nvwgf2umx.dll error or similar. In such case, you can resolve the game application issue by reinstalling it. To do so, you need to uninstall/remove the problematic game application from ‘Settings> Apps > Apps & Features’ Windows 10. Once uninstalled, download the game application again and reinstall into computer. Check if it works.
Method 6: Disable third-party antivirus and VPN temporarily
It might possible that your antivirus software is blocking ‘nvwgf2umx.dll’ or other program associated with your game you trying to play. In such case, you can disable your antivirus temporarily to resolve the issue. Similarly, VPN connection can cause also cause game crashes issues or nvwgf2umx.dll error in some cases. You can disable VPN also to resolve the issue.
Method 7: Disable Overcooking
Overclocking can cause game crashes issues and system instability issue in your Windows computer. In such case, you can disable overclocking to resolve the issue. To do so, you should access ‘BIOS Settings’ in Windows computer by restarting your computer and press ‘F2’ or suitable key to enter into ‘BIOS’ settings, and then disable ‘Overclocking’.
Method 8: Update BIOS
Updating BIOS can also resolve this type of issue. Keep in mind that you should contact your motherboard manufacturer’s for this purpose. To do so, just visit your motherboard manufacturer official site, go to ‘Download’ section and download the latest BIOS update for your motherboard. Run the installer and follow on-screen instructions to finish. Restart your computer once BIOS update finished.
Method 9: Disable Discord/Steam Overlay
Another possible way to resolve the issue is to disable Discord Overlay or Steam Overlay.
Disable Discord Overlay:
Step 1: Open ‘Discord’ in Windows computer and go to ‘Settings > Game Activity’
Step 2: Toggle the Overlay OFF for the game that causes error
Disable Steam Overlay:
Step 1: Open ‘Steam’ in Windows computer and go to ‘Steam > Settings’
Step 2: Go to ‘In-Game’ section and deselect ‘Enable the Steam Overlay’ while in-game. And then hit ‘Ok’
Conclusion
I am sure this post helped you on How to fix nvwgf2umx.dll error in Windows 10/8/7 with several easy steps/methods. You can read & follow our instructions to do so. For any suggestions or queries, please write on comment box below.


