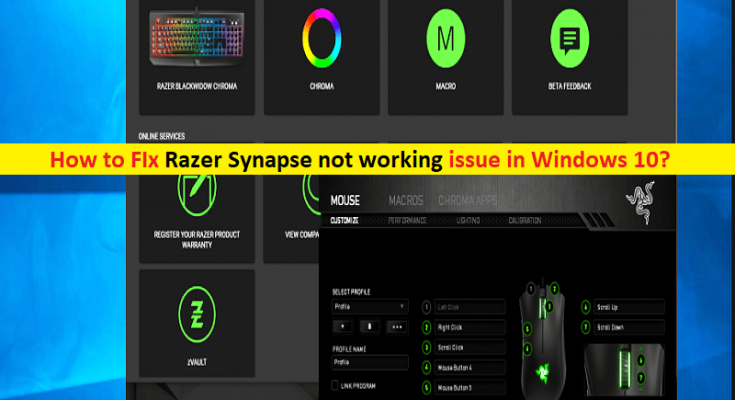
What is ‘Razer Synapse not working’ issue in Windows 10?
If you are experiencing ‘Razer Synapse not working/opening’ issue in your Windows 10 while trying to open Razer Synapse Software, then you are in right place for the solution. Here, you will be guided with easy steps/methods to fix this issue. Let’s go for the solution.
‘Razer Synapse’: Razer Inc. is multinational technology company known for designing, developing and sells consumer electronics, financial services and gaming hardware. Razer’s products are including gaming laptops, gaming tablets, PC peripherals like mice, audio device, keyboards, mouse mats, and game pads.
Razer Synapse is software designed & developed by Razer Company as unified configuration software. This software offers you to rebind controls or assign macros to any of your Razer peripherals and saves all your settings automatically to the cloud. This software is available for Microsoft Windows 10/8/7 and MacOS X 10.10 – 10.14 based computers.
‘Razer Synapse not opening/working’ issue: It is common Windows problem associated with Razer Synapse software issue. This issue indicates that your Windows 10 computer is unable to open ‘Razer Synapse’ software for some reasons. This issue prevents you from opening this application and result in Razer Synapse not functioning in your computer.
In most cases, ‘Razer Synapse’ software starts automatically when your Windows 10 computer boots up. This software continues running in your system background, which can be seen in ‘Task Manager’, but you can’t open its user interface for some reasons. The possible reason behind this issue is problematic Razer Synapse software itself. In such case, you can try to fix the issue by reinstall Razer Synapse software in your computer. Let’s go for the solution.
How to fix Razer Synapse not working issue in Windows 10?
Method 1: Fix ‘Razer Synapse not opening’ issue with ‘PC Repair Tool’
‘PC Repair Tool’ is quick & easy way to find and fix BSOD errors, DLL errors, EXE errors, problems with programs, malware or viruses issue, system files or registry issue, and other system issues with just few clicks. You can get this tool through button/link below.
Method 2: Close all Razer Synapse processes in ‘Task Manager’
You can try to fix the issue by closing all processes related to Razer Synapse software and re-launch the program.

Step 1: Press ‘CTRL + SHIFT + ESC’ keys on keyboard to open ‘Task Manager’
Step 2: Click on ‘Processes’ tab, find and right-click on each process associated to Razer Synapse software, and select ‘End Task’. Once done, close ‘Task Manager’ and re-launch ‘Razer Synapse’ software and check if the issue is resolved.
Method 3: Install latest Microsoft .NET Framework
Sometimes, this issue occurs possibly due to outdated or corrupted Microsoft .NET Framework in your computer. You can fix the issue by installing latest versions of Microsoft .NET Framework.
Step 1: Open your browser and visit Microsoft .NET Framework official download page
Step 2: Search, select and download ‘.NET framework’ latest version
Step 3: Once downloaded, double-click on ‘downloaded setup file’ and follow on-screen instructions to finish installation. Once done, please check if the error is resolved.
Method 4: Reinstall Razer Device drivers
This issue can also be occurred due to corrupted or outdated Razer device drivers in your computer. You can reinstall or update Razer device drivers in order to fix the issue.
Step 1: Press ‘Windows + X’ keys on keyboard and select ‘Device Manager’
Step 2: Locate your Razer peripherals in keyboards, Mice and other pointing devices, and Sound, video and game controllers category. Right-click each device and select ‘Uninstall’ and follow on-screen instructions to finish uninstall process.
Step 3: Once done, disconnect all Razer devices and restart your computer. And after that, reconnect Razer devices. This will automatically install the latest drivers for Razer devices in your computer.
Update Razer device drivers [Automatically]
You can also try to update your Razer devices drivers and all other Windows drivers with ‘Automatic Driver Update Tool’. This software will automatically find the latest updates for all Windows drivers and then install them into computer.
Method 5: Perform Clean Razer Synapse software installation
Step 1: Press ‘Windows + I’ keys on keyboard to open ‘Settings’ App in Windows 10
Step 2: Go to ‘Apps > Apps & Features’, find and select ‘Razer Synapse’ software and associated software, and click on ‘Uninstall’. Follow on-screen instructions to finish uninstall process.
Step 3: Now, open ‘File Explorer’ and navigate to ‘C:\Program Files (x86)\Razer’ path
Step 4: Delete all files/folder inside Raser folder
Step 5: Once done, open your browser and visit Razer Synapse software download official page
Step 6: Download the latest version of Razer Synapse and then install it into your computer.
Step 7: Restart your computer once done, and check if the issue is resolved
Method 6: Create new Razer Synapse account
If the issue is still persist, then you can try to fix the issue by creating new Razer Synapse user account.
Step 1: Create new email address for creating new Razer user account
Step 2: Open ‘Razer Synapse’ software and click on ‘Sign Up’
Step 3: Enter your new Razer ID, new email address, enter new password and click on ‘Start’
Step 4: Accept the terms & conditions and go to your email box and click on ‘Link’ appeared on Raser’s verification email and hit ‘Next’.
Step 5: Once done, re-launch Razer Synapse software and check if the issue is resolved.
Conclusion
I am sure this article helped you on How to fix Razer Synapse not working issue in Windows 10 with several easy steps. You can read & follow our instructions to do so. That’s all. For any suggestions or queries, please write on comment box below.


